Pages

Showing posts with label diy. Show all posts

Thursday, April 12, 2012

Soap Making

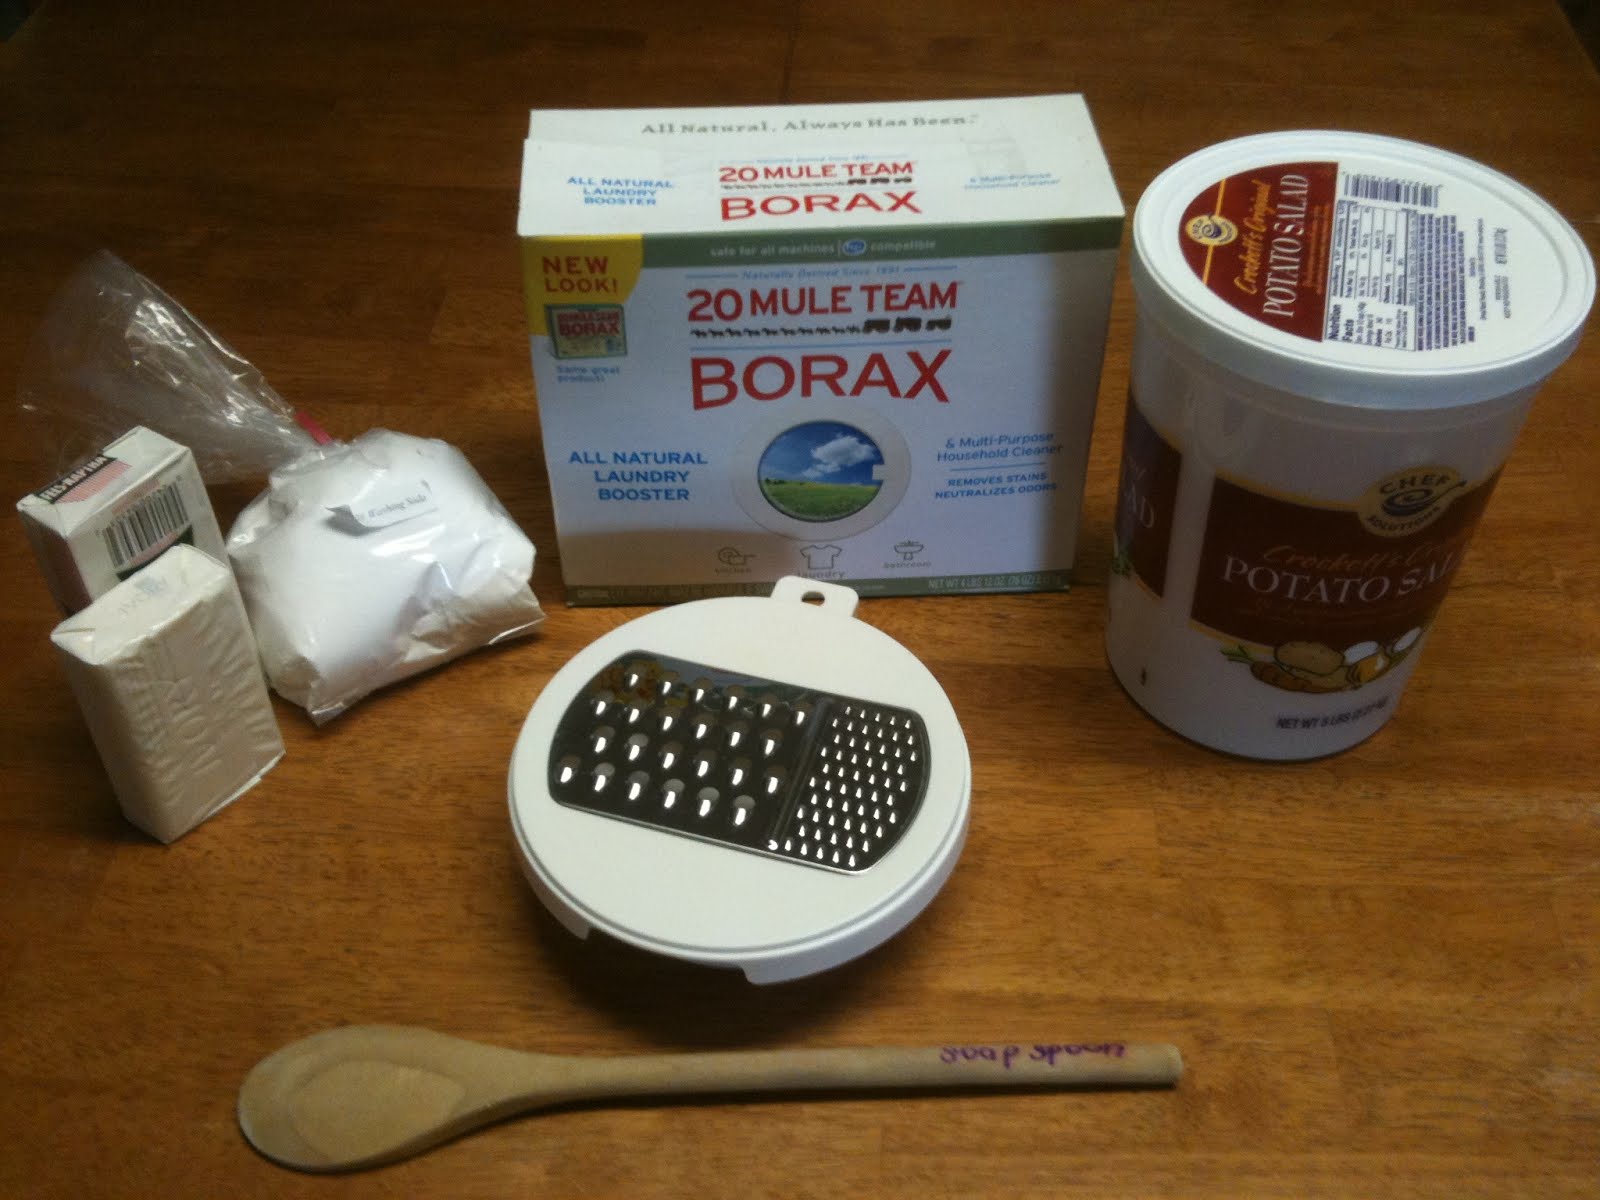
While still in the States I have been soaking up as much as I can and learning how to do things as I find people who can teach me. Something I've always wanted to learn, was how to make my own soap. Making my own liquid laundry detergent or powdered laundry detergent always calls for soap... and this way I can create that step as well.
While I had some AMAZING teachers (who also happen to be my midwives,) they learned from other people or the internet before they shared it with me.

 There are many benefits, besides a ton of creative combinations, to making your own soap. I agree with Miller's Soap Page when they say:

"We've gotten spoiled using our own soap... it leaves you clean without feeling dry and itchy. I've given it to friends who have allergies or skin conditions and they have found it to help them in clearing up the problem. If you have any of the latent chemist in your soul...you will LOVE watching the transformation as you mix the lye solution into the fat and continue to watch it change as it cures! No one can walk by a table of curing soap, without having the uncontrollable urge to pick up a bar to touch and smell it."


I helped make two different kinds: Goat milk soap that we scented with orange essential oils, and regular soap scented with "oatmeal, milk and honey" scent. We used the cold process version of soap making, (though it didn't feel like it when we added the lye.) Our fats included coconut oil (good for suds,) olive oil, and Crisco... If it sounds greasy, don't worry, fat and lye react in a really cool way: thickening up and creating the soap you're used to seeing and the final result isn't greasy at all! While goat soap doesn't absorb color well and we left it natural, we used a pretty blue and created a marble effect in the regular soap we made.


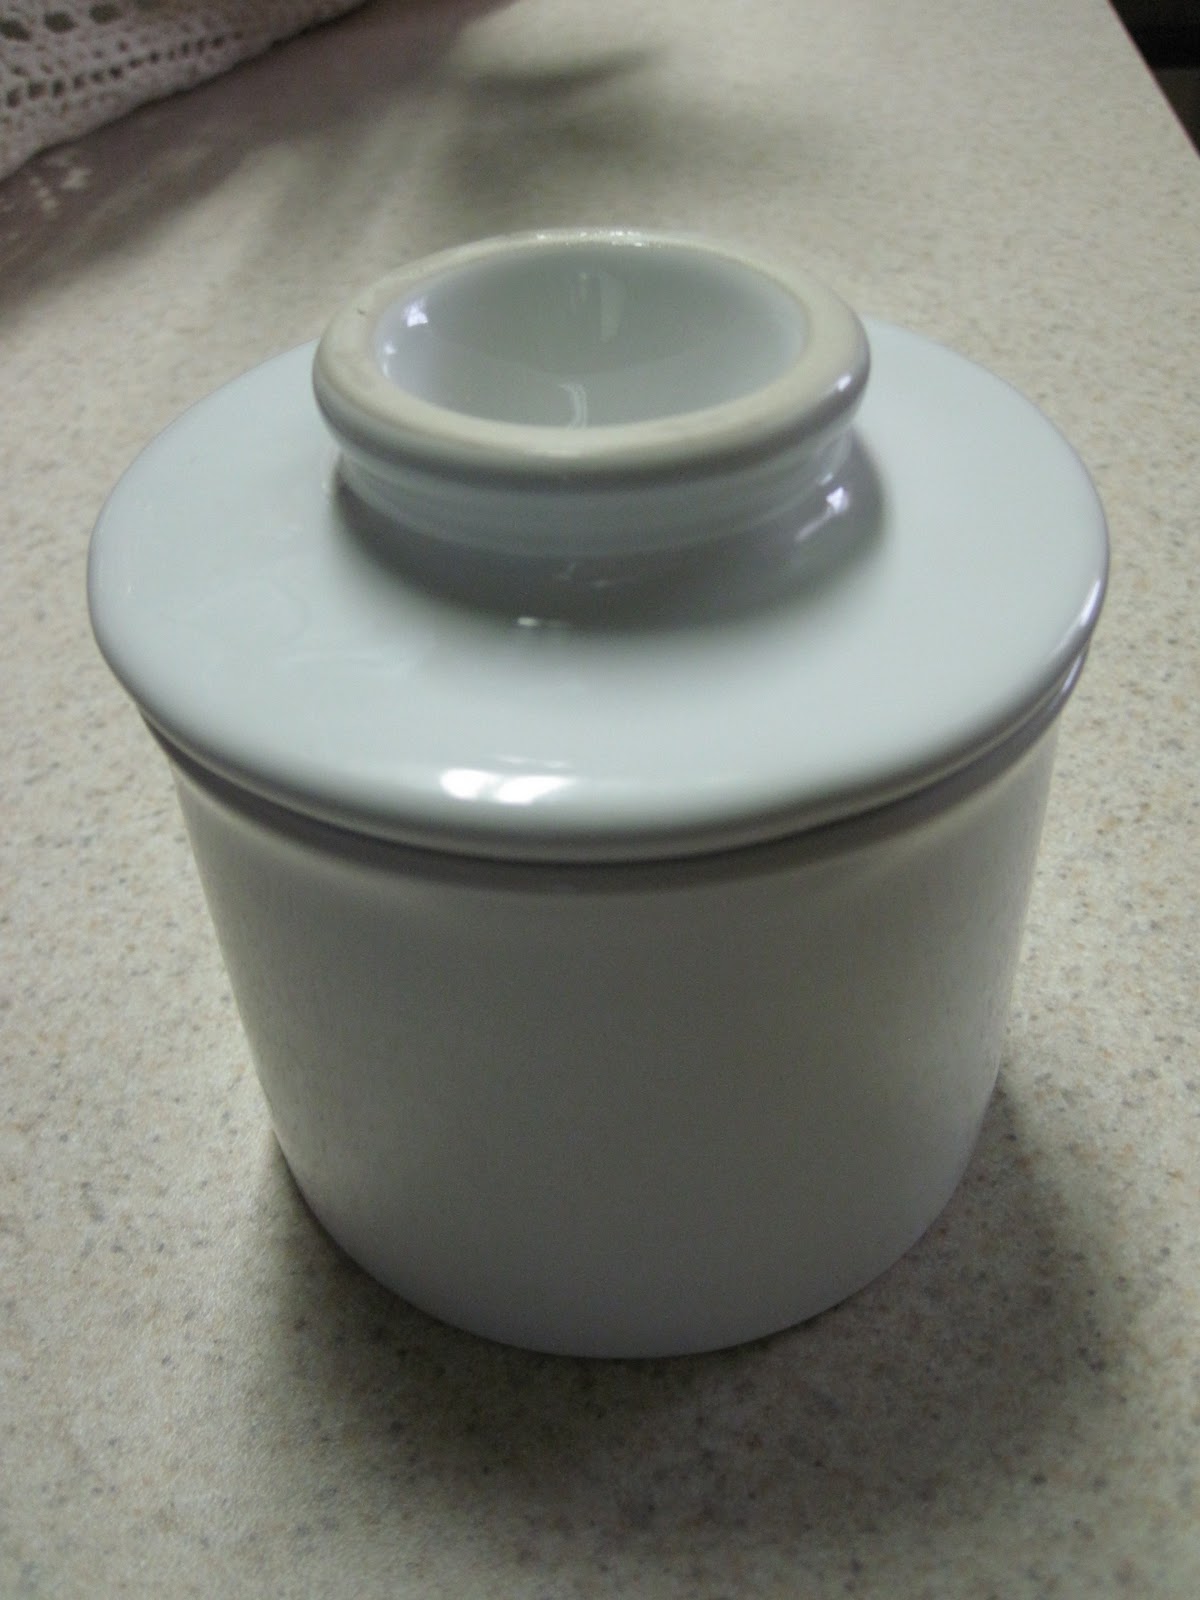
 It turned out very pretty, smells amazing, is nice to use and is comforting to know doesn't have nasty chemicals.

Thursday, March 29, 2012

Homemade Powdered Laundry Detergent

About six months ago I made the liquid homemade version of laundry detergent... and it lasted that long. It worked great, was super cheap, easy to make and I have no complaints about it, but I wanted to try the homemade powdered version as well and see if it worked comparably.

As for ease of preparation, it was incredibly simple. The ratio is like this:

1 bar soap :1 cup Borax : 1 cup washing soda

Many people suggest Fels Naptha, Zote, Ivory or Dove soap. I doubled the recipe and used one Fels Naptha and one Ivory. (The Ivory gave it a great smell.) I have some friends who save the little pieces of soap from the bath/shower and combine those in the mixture.


The soap needs to be grated, and that's as difficult as it gets.


You'll want something with a good seal and a wide lid to keep it in. I mixed mine in a recycled plastic container that was also really good for storing the detergent.


To use, scoop one tablespoon for a regular load and 2 tablespoons for a large or heavily soiled load. It washes just as well as store bought detergent.

I think the benefits of the dry version are how simple it is to make and store. I think the liquid version goes further, but we'll see how long this one lasts.

Have you tried either version? Do you have a preference?

Wednesday, February 1, 2012

Sock Monkey vs. Wool Socks

Wool socks are just irritating. They're itchy and too hot for Texas weather... but they work rather well for making a sock monkey!


We found the pattern on line and marked out where we wanted to cut. Since it wasn't the traditional colored heels and toes, we had to eyeball some of the measurements.
We ended up with a different, argyle style monkey.


Then we stuffed him...


and sewed his arms, mouth and tail on.
His ears and eyes came next.
Our silly monkey ended up with arms as long as his legs, for a top heavy look... but that's OK, because Talia thinks he's cute with his arms crossed:


Monday, January 16, 2012

Making Fresh Cream Butter

I recently  learned how to make butter from my friend Ashlie. It's very simple to do and delicious!

The first thing you need if you are making butter at home is whole milk with the cream. Ashlie bought hers from a man who has his own milk farm down the road (and a license to sell to the public.) If you have never tried fresh whole milk- a note of warning: You might become addicted, it is nothing like the white-colored water sold in plastic gallon jugs at the super market. ;)

 You can (barely) see the line towards the top where the cream has separated from the milk.
 You will need a clean container with a good lid like the glass jar above to shake the cream in.
 Get a scoop, we used a 1/2 measuring cup, and carefully pour the cream into the shaking jar.
 Your jar needs to be about half full, not more or you will not leave enough room for good shaking and expansion of the butter as it expands with air. (Hi Ashlie!)
 Screw the lid on very tight and....
 ...now you are ready to shake the cream!
(Better than a shake weight because it's obviously productive...
then again, it produces butter which gives you more calories... hmmmm.)
 After about 6 minutes, the cream is looking frothy and expanding with the bubbles.
 After about 12 minutes, the cream is turning yellow and starting to clump together in little butter balls.
 Here you can see the butter starting to stick to the sides of the jar.
 After about 15-20 minutes of constant shaking, you can see yellow creamy butter.
Now the butter can be scooped out into a container to be washed...
 ...and the whey can be poured back into the milk jar. 
A wide-mouthed jar is appreciated for this step, since you have to scoop the butter out.
 If you do not wash the milk out of the butter, as Ashlie found out the hard way, you will end up with spoiled-milk tasting butter- yuck!

 Here is the butter before washing.
 To wash, run clean water over the butter...
 ...and press the milk out of the butter with your spoon.
 You may need to repeat this step 3-4 times.
 When the water runs clear, you will know it has been washed adequately. Press as much of the water out as you can. If you would like salted butter, now is the time to add the salt and mix well.
 If you have a butter bell, now you will scoop all of your butter into the bell part...
 Compact the butter into the bell so that any excess water rises to the top and can be poured out.
 Next fill the bottom part of the butter bell with 1/4 cup of clean water and...
 invert into itself to seal the butter, keep it fresh and soft.
Remember to change the water in your butter bell every other day to keep your butter fresh.
Thanks, Ashlie, for the lesson in making butter!

Enjoy!

One of the ways we enjoy fresh butter is with fresh homemade flour tortillas and honey!

Thursday, October 6, 2011

Homemade Liquid Laundry Detergent

Something I've been wanting to try for a long time is making my own liquid laundry detergent. The recipe we decided to use was the Duggar family recipe. (The directions in italics are their property that I simply followed.)


4 Cups - hot tap water
1 Fels-Naptha soap bar
1 Cup - Arm & Hammer Super Washing Soda*
½ Cup Borax


- Grate bar of soap and add to saucepan with water.

-Stir continually over medium-low heat until soap dissolves and is melted.


In the beginning it looks like this:

After about 7-10 minutes it looks like this:
Finally, around 12-15 minutes later, it starts to look like this:


-Fill a 5 gallon bucket half full of hot tap water. Add melted soap, washing soda and Borax.

Here's the 1/2 cup Borax:

 1/2 cup of Borax to 1 cup of washing soda:


 -Stir well until all powder is dissolved.


-Fill bucket to top with more hot water. Stir, cover and let sit overnight to thicken.


-Stir and fill a used, clean, laundry soap dispenser half full with soap...


and then fill rest of way with water. Shake before each use. (will gel)


Something we decided would be a good idea to do is to mark the wooden spoon we were using to stir the soap with a "laundry soap only" spoon so someone wouldn't end up with soapy tasting baked goods one day.


-Optional: You can add 10-15 drops of essential oil per 2 gallons. Add once soap has cooled. Ideas: lavender, rosemary, tea tree oil.


-Yield: Liquid soap recipe makes 10 gallons.


-Top Load Machine- 5/8 Cup per load (Approx. 180 loads)


-Front Load Machines- ¼ Cup per load (Approx. 640 loads)


*Arm & Hammer "Super Washing Soda" - in some stores or may be purchased online here (at Meijer.com). Baking Soda will not work, nor will Arm & Hammer Detergent - It must be sodium carbonate!!" Check out this information on using baking soda to make washing soda.


NOTE: ™ = Trademark. All trademarks are property of their respective owners. Results may vary. All recipes are valid for non-commercial useotherwise written permission must be obtained from the The Jim Bob & Michelle Duggar Family. © Copyright 2011

Have you ever tried making your own laundry soap?
Yes, and I enjoyed it.
Yes, but I wouldn't do it again.
No, but I would like to.
No and I'm not interested.


pollcode.com free polls